Do you have a website or blog? Do you own a domain? Do you have a professional domain Email? Then this article is for you. I have noticed that many newbie bloggers use a public domain email address which is freely offered by Google, Yahoo, Microsoft. But if you have your own domain then you can create a professional email on your own. Therefore, in this tutorial, I’m going into detail about how to create your own email domain free Using G-Suite.
There is no doubt that everyone likes domain email addresses like admin@domain.com or yourname@domain.com. However, it shows your professionalism in blogging. Creating a domain-specific email address shows your credibility and professionalism blogosphere. With the help of G-Suite, you can setup G-Suite email for business instead of having a public domain email address.
There are many ways to create your own domain email addresses. If you have owned a domain in BlueHost, Namecheap, Hostgator, etc. then you can do it by login into your cPanel. In the email section, you can create your domain email addresses.
Bonus Read: Step-By-Step Guide To Create Professional Email IDs using cPanel
Note: I am feeling sad to say that Google has closed its free version of G-Suite. But you can use it for a free trial. You can pay a nominal fee of Rs. 150/user/month.
In this guide, I am going to give you a detailed explanation about how to set up a domain email address using G-Suite. The process of obtaining a custom domain email address is very simple. No need to worry about so much. You just need to follow me and finally, you will have an amazing domain email id.
Short Disclaimer: Some of the screenshots might not be the same for you as Google updates their site periodically. But the process will remain the same. You just need to follow properly.
How To Create Professional G-Suite account Email Address
The following steps will guide you on how to create a G-Suite account and steps for verification of MX records.
Step1: Go to your Sign up page and click on Start Free Trial.
Note: Enjoy the G Suite for free for 14 days. Later you would be paying for it.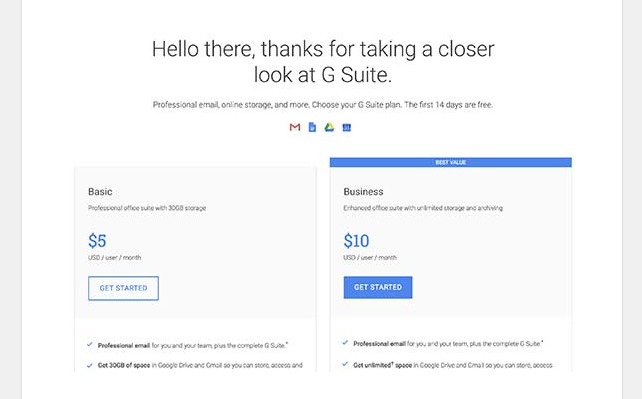
Step2: On the following page, fill page fill all details about you and then click Next to complete Sign up.
Step3: Fill Details About You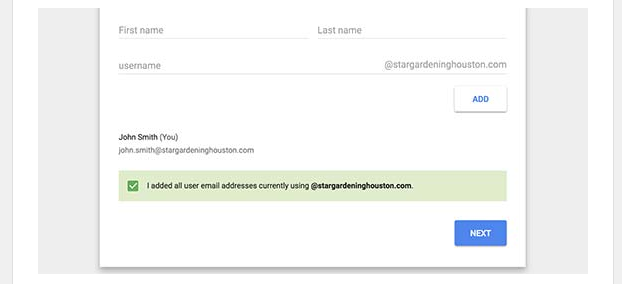
Step4: Now, you will come up with two options.
- Use a domain that you already purchased
- Buy a new domain.
For me, since I have already a domain www.BoundBuzz.com/sample domain so I am selecting the first option.
here I entered my domain boundbuzz.com/sample domain.
Step5: On the following page, you will be asked to enter your username. For that, you can use a specific username like admin, contact, support, query, etc. Choose a strong password and tick all the three checkboxes (I recommend). After that click on Accept & Install.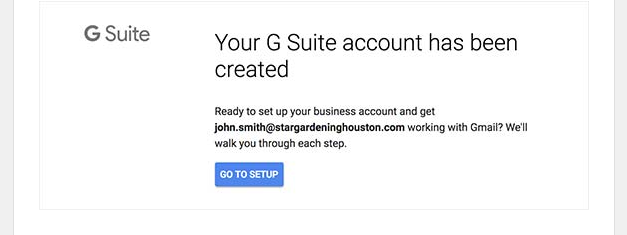
Add People To Your G Suite Account
Now, your business account setup is complete. You can add people to your G Suite account up to 10 people. There is a field of Firstname, Lastname, and Username. Fill in all the details of users and then click Add. You can set up those 10 accounts manually also.
You can create a group like marketing@yourdomain.com, info@yourdomain.com, etc.
If you want to skip this part then you can see a checkbox right under your Username. Click on the checkbox and click Next.
Step6: Add People To Your G Suite Account
Now, you have to verify your domain ownership. For that, you copy the meta tag and copy it just below your header section.
Step7: G Suite Domain Verification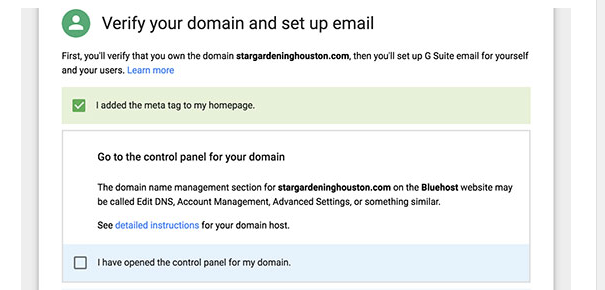
For the header section go to your WordPress dashboard.
Step8: Appearance -> Editor -> In template Choose header.php. Copy the meta tag just below the <head> section.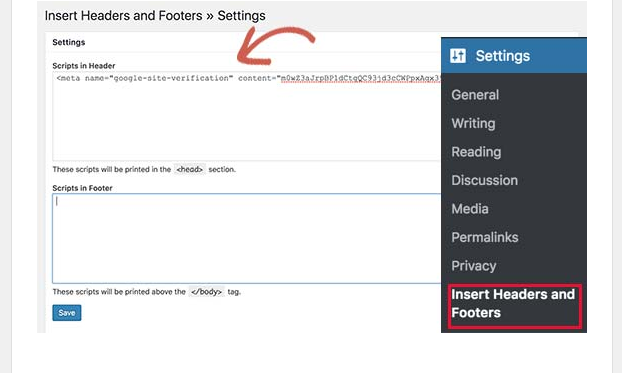
Step9: Click on the checkbox I have opened the control panel for my domain. Add the MX records provided by email setup console by G-Suite.
Step10: Create New MX records for G Suite
Step11: Click on the checkbox I created the new Mx records. After that click on the checkbox of I have deleted the existing Mx records.
Step12: Delete Existing MX records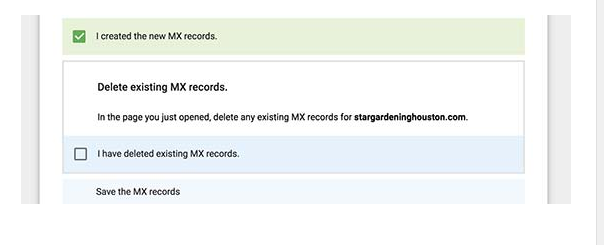
Step13: Now, you will have an option of saving the MX records. Click on the checkbox I saved the MX records.
Save the MX records verify Domain and Setup Email
Step14: Verify Domain and Setup Email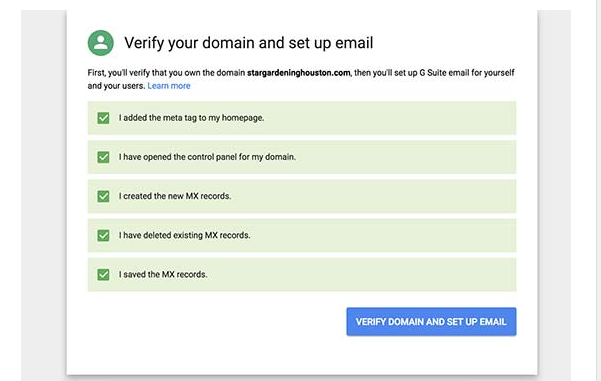
That’s all, Google will take 50 minutes to completely verify your domain and set up your professional email.
I hope you understand now how to create your own email domain free to grab your domain-specific email addresses.
If you like this post, then hit the share button and share it with your friends.

